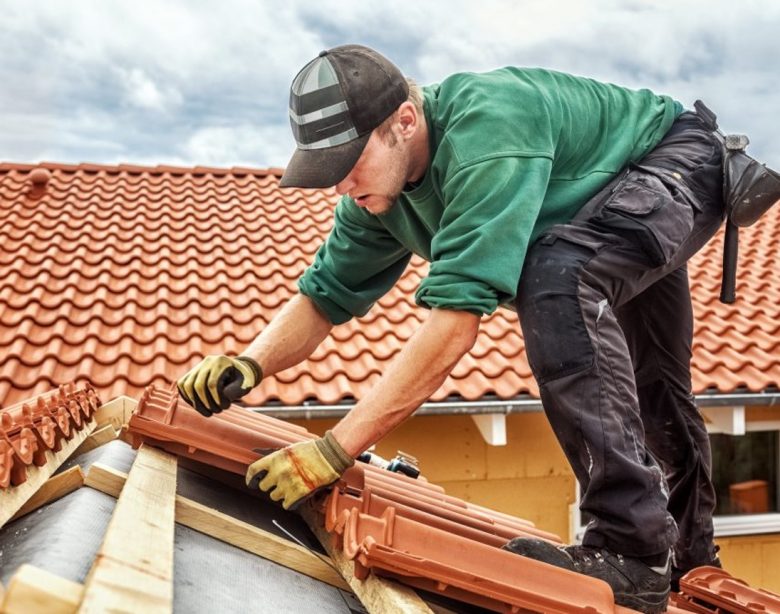
A complete tiled roof restoration will restore your roof to its former glory. This will be done by carrying out all repairs and applying fresh coats of paint for an entirely updated look. The team will typically complete all work on your roof within two to three days. Roof restoration is a specialized process tailored to the needs of each individual customer. A tiled roof restoration is discussed in this article.
This is the first step:
Arrange to have temporary roof edges installed at your property in the first instance according to industry workplace requirements. The team will typically perform this task one or two days prior to starting work.
The second step consists of:
Remove all ridge capping as needed and re-bed them with a sand and cement mixture (1 part cement to 4 parts brickies loam). This is a procedure for repairing ridge capping on hips and ridges.
The third step is to:
Upon finding all broken tiles on the roof, our team will begin the replacement process. Usually, the roof restorations company will replace all ridge, valley, and barge tiles. To ensure consistency, make sure that the age and profile of the new tiles match those of the existing ones.
This is the fourth step:
High-pressure water cleaners at 5000 psi is used and specially designed turbo and fan jet nozzles to clean the roof down (preparation of the tiled surface is crucial to a successful roof restoration). You may be required to pressure clean your roof twice to ensure the adhesion of the coating. The reason for this may be that your roof was previously painted and is peeling and in poor condition.
The fifth step consists of:
The gutters surrounding the roof and external walls are cleaned, as well as the paths.
The sixth step consists of:
Companies typically use Flexipoint Ridge Security to repoint the ridge capping and the gables.
This is the seventh step:
Blower vacuums are then used to blow down the entire roof. All the flashings and gables are hand painted. Window coverings, solar hot water systems, skylights, etc., are covered and or masked to avoid overspray.
The eighth step is to:
It is recommended to apply a coat of primer/sealer prior to applying the topcoat, which allows the tile and topcoat to adhere together. The second step involves sterilizing the tile surface and destroying all fungi spores.
The ninth step:
The most exciting part comes after the primer has been applied. An airless spray gun is used to apply two colour coats of a pure acrylic polymer roof membrane coating.
The tenth step:
The fourth coat, Nano Protect, provides the ultimate protection for your roof. Dirt is also more easily picked up by this product, making it self-cleaning; greater UV resistance, preventing fading of the colour coating below; higher scratch resistance, and enhanced gloss retention. Roof Membrane Coatings can be extended greatly by coating them with Nano Protect. The coating will have a longer life and colours will not fade
This is step 11:
All rubbish has been removed from the site. The temporary roof edge protection has been taken down.
Taking the 12th step:
The roof is inspected one last time. Assuring that all work is completed to James’s and the owner’s satisfaction.
The 13th step:
On completion of the work, all workmanship and materials are covered by a 10-year warranty.
Your roof and your home can truly be brought back to life with a tile roof restoration.
Contact All City Roof Restorations if you need Roof Restoration Adelaide today.


